This article outlines exactly how to set up your NFTs to be custodial.
[For information about what custodial means, check out our guide HERE]
Setting up in Single
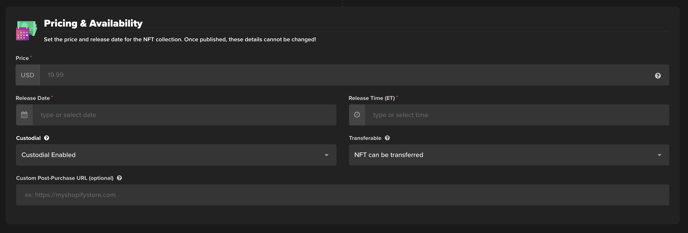
Under the Pricing & Availability section, find the “Custodial” dropdown
Custodial Disabled - When this option is selected, customers are immediately shown a link to claim their NFT after purchase. They are then prompted to connect a Solana wallet (like Phantom) and transfer the NFT to their wallet

Custodial Enabled - When this option is selected, your customer's NFT will "live" within their customer account login in their store.
Transferable - Only displays when "custodial" is enabled - means that even though the NFT starts in the customer's account, they still have the ability to later claim the NFT into their own wallet.
Customer Flows
Non-Custodial
In a non-custodial setup, the customer flow looks like this:
- Customer completes purchase of NFT
- Claim link:
- Appears on order confirmation page
- Is sent via email
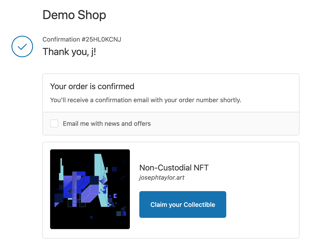
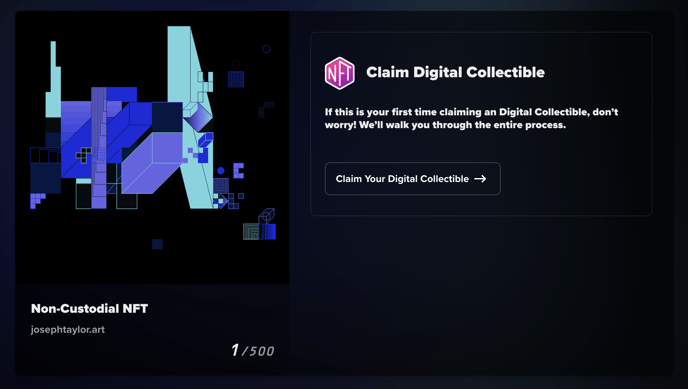
- Claim links direct to the claim flow. Customer is prompted to connect their wallet and claims the NFT into the wallet:
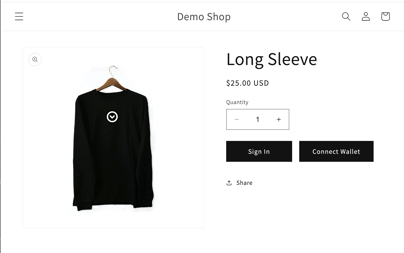
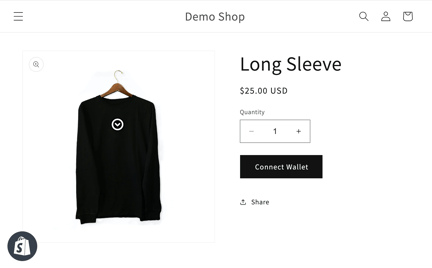
- When accessing gated content in your storefront like products or videos, customers will be directed to connect their wallet
Custodial
- Customer completes purchase of NFT
- "Activate Account":
- Appears on the Shopify order confirmation page
- Is sent via Email
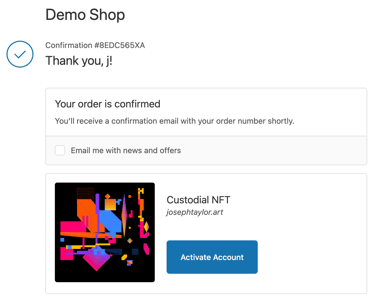
3. After customer activates account, sent back to the order confirmation:
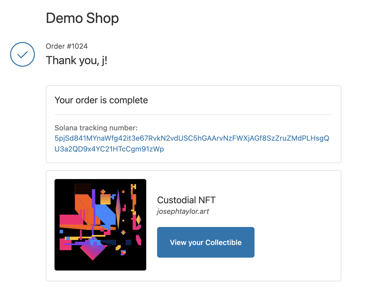 4. "View your Collectible" takes the customer to the myshopify.com/apps/single/my-perks page. This page cannot be customized. It shows any collectibles owned by the customer and any perks that are unlocked.
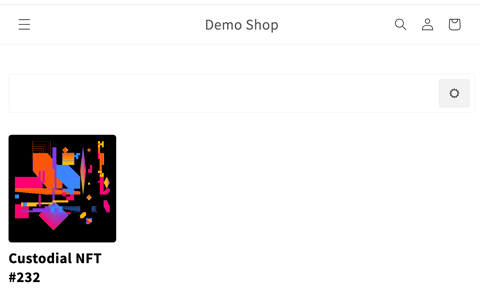
5. You can also customize where this "View your Collectible" button leads. To do this you would create a new page template within the Shopify Theme editor and assign it to a page.
In the theme editor, add the "Memberships: Collectibles" app block. This displays the collectibles that the customer has access to. You can then add Image Banners, Product Collections or any other app blocks to build out the page.

6. Once you create your template and assign it to a page, add the link to your page in the "Custom Post-Purchase URL" field:

7. In this setup, customers will be prompted to "Sign In" or "Connect Wallet" to access gated products
