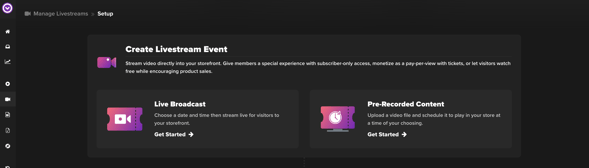
Whether you want to host a ticketed event or just go live to your fan club, this article covers how to stream to your Shopify store with Single.
Step 1: Create your Livestream
- Log in to your Single account
- From the left sidebar, select Livestreams
- Click "+ Setup Livestream"
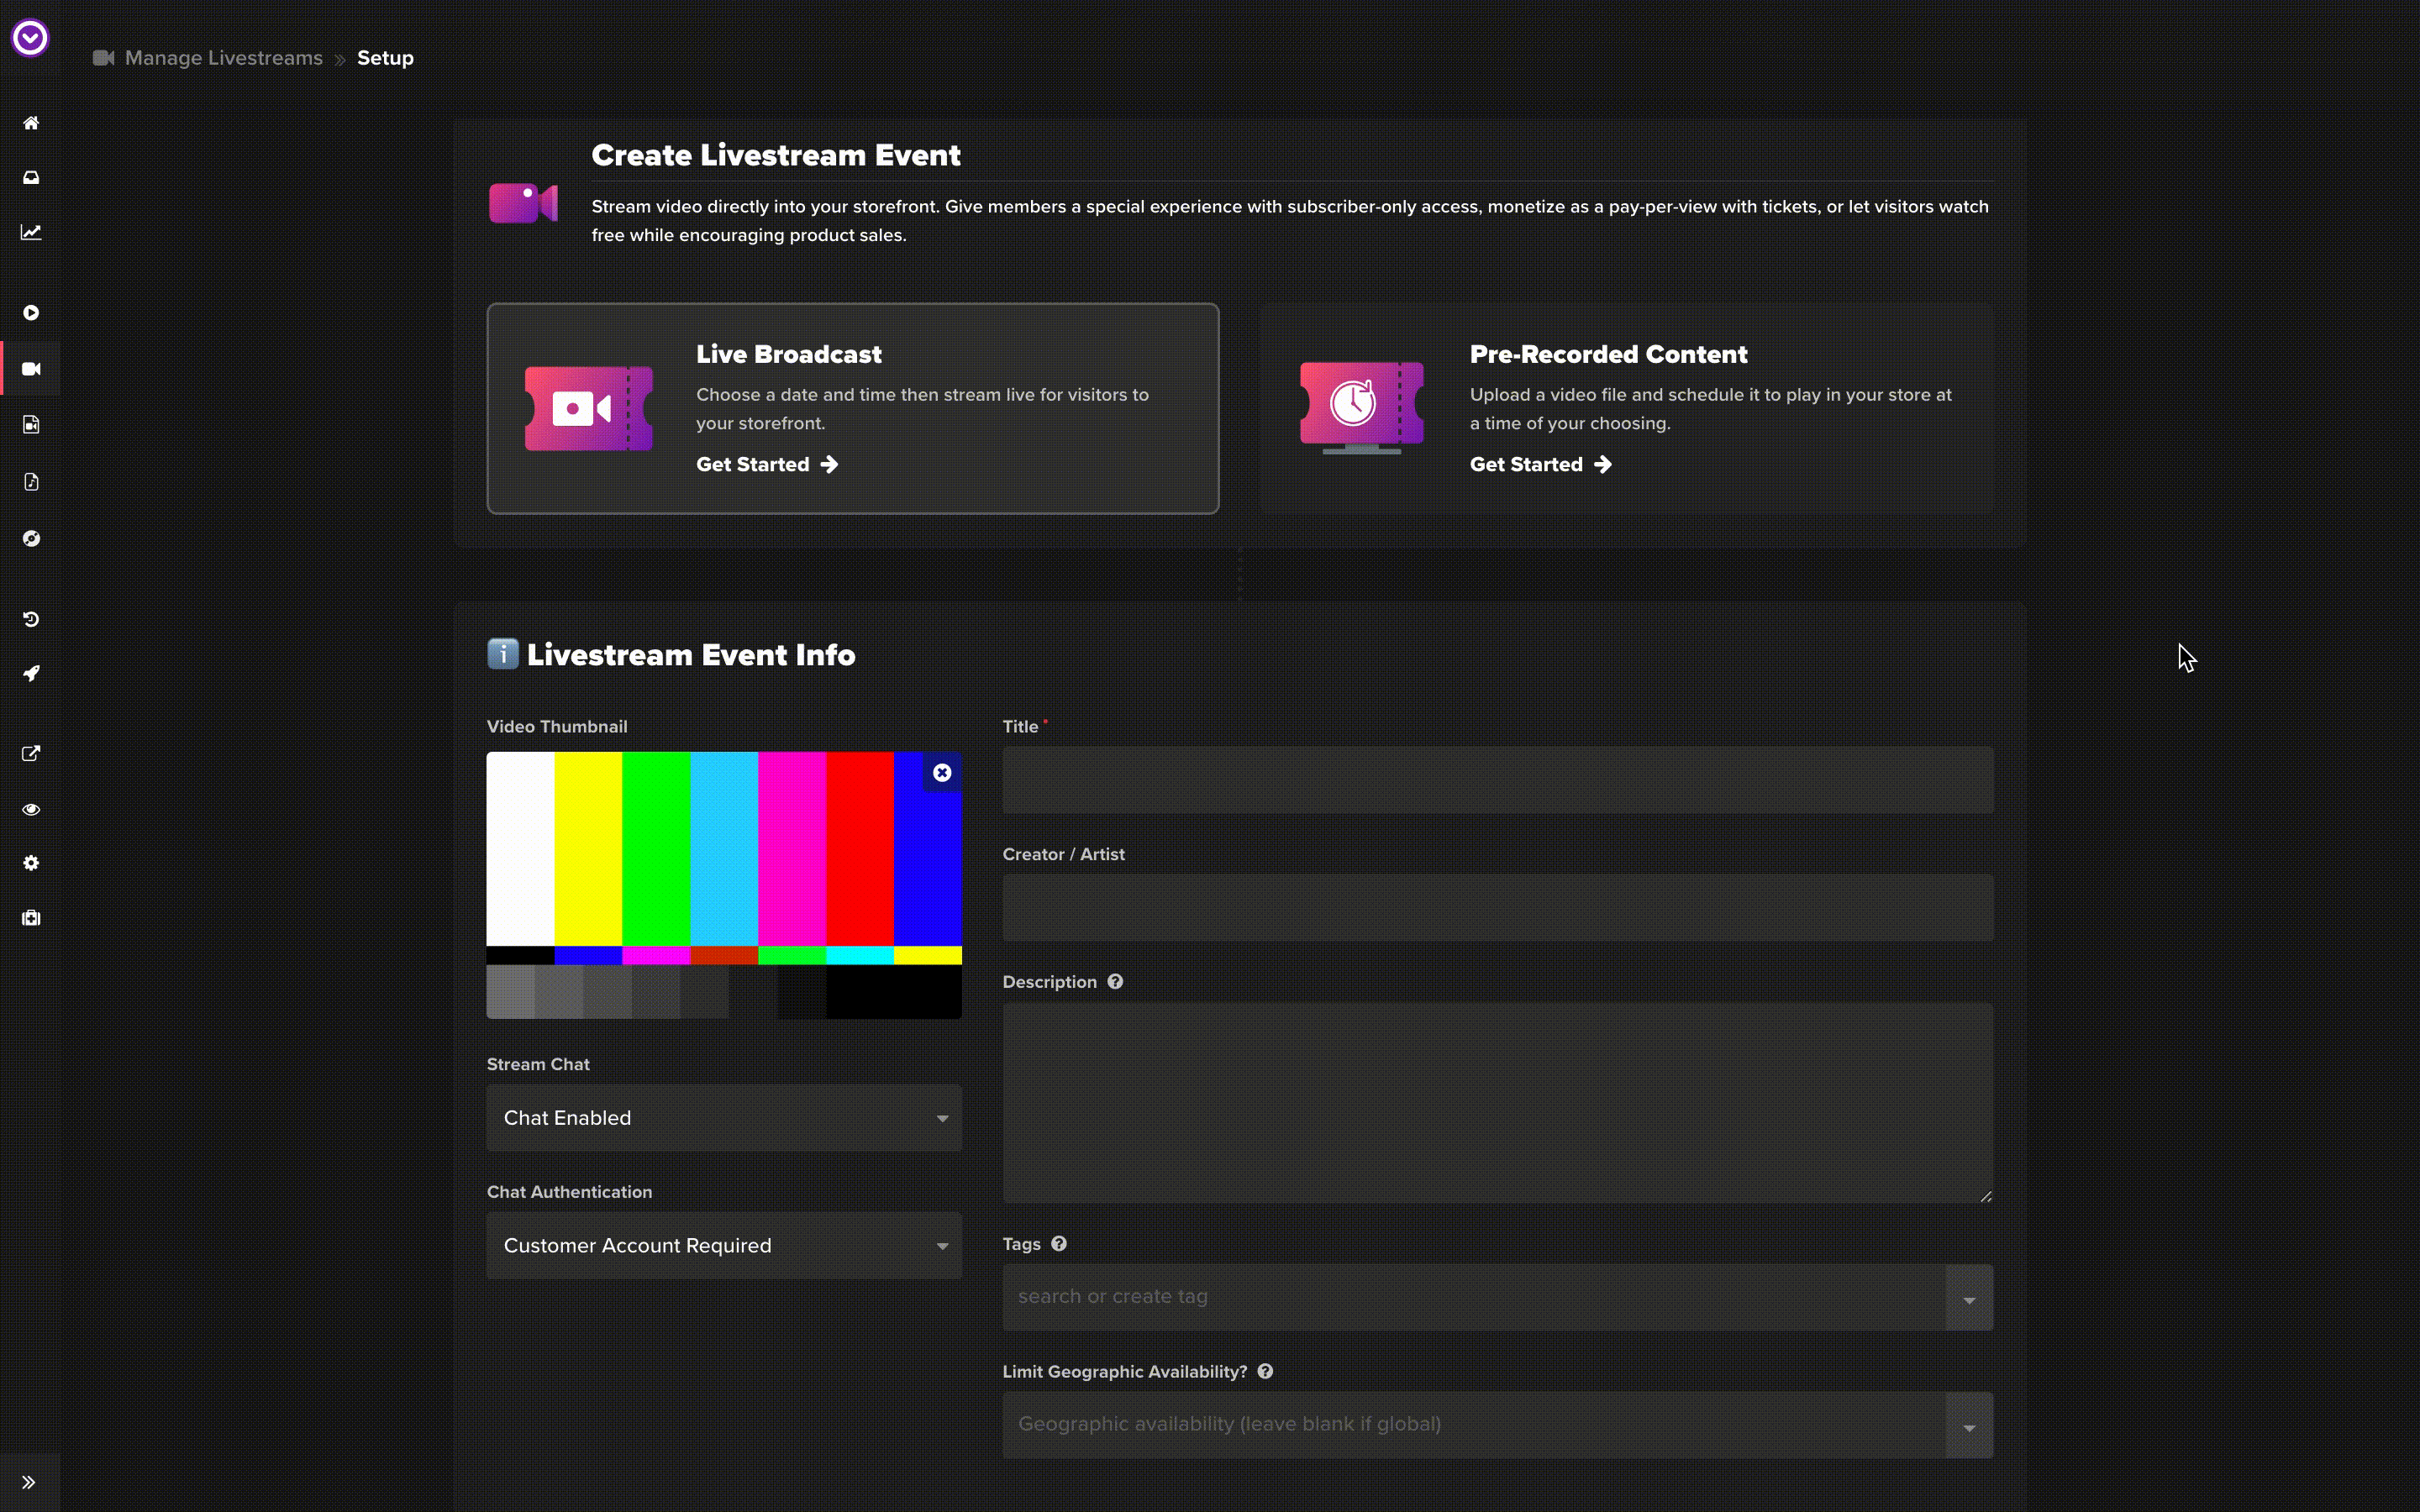
- Select your stream type: Live or Prerecorded
5. Add a thumbnail and fill out your event details
- Video Thumbnail - the image that displays on ticket confirmation emails and the video player before the stream begins
- Title & Creator / Artist - displays below the video player
- Description - displays below the video player
- Tags - can be used to organize your videos via app blocks, leave it blank if you're not using app blocks
- Limit Geographic Availability - restricts where your stream can be seen around the world
- Stream Chat - display or do not display a chat for fans to use
- Chat Authentication - choose a public chat or require fans to create a customer account to chat
- Countdown - displays a countdown clock on the video player
- Scheduling - choose a date & time to start your stream
- After Airing - choose whether or not to have your stream available for fans to rewatch after the initial airing, choose how long you want the recording available
Step 2: Manage Access
During this step, you can choose how you want to monetize your stream.

- Public - the stream will be open to anyone
- Limited - choose this option to monetize / gate your stream
- Active Members - give your subscribers access to the stream
- Collectible Holders - give holders of a specific NFT access to the stream
- Buyers of an Existing Product - this option allows you to choose any product(s) from your Shopify inventory and grant access to those buyers, select this option when bundling tickets + merch
- Create Tickets - creates a standalone ticket product in your Shopify store that you can sell
Note: You can select multiple combinations of access for your stream. If you choose to create tickets, be sure to enable the email notifications and customize it to fit your brand and event
Step 3: Activate Your Stream
After you've created the event and set up the access, it's time to publish your stream.
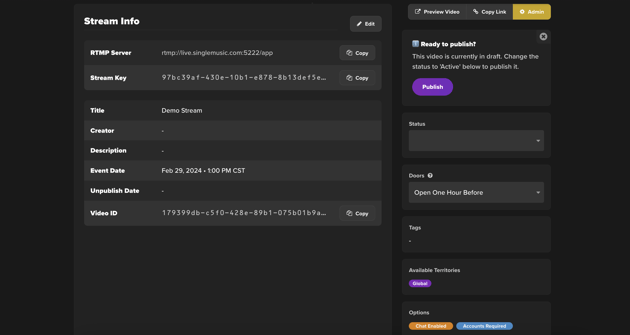
- Configure "Doors." We recommend leaving it it as the default "Doors Open One Hour Before." This means fans will be able to chat and see any content streamed to the player 1 hour before the scheduled start time
- Change the Status from Draft to Active or click Publish. Your livestream event will now appear as a page in your Shopify store
- Copy the stream link and add it to your store's navigation
Pro tip: Add this link to your store's navigation for easy access by fans. They can also get to the stream via their order confirmation sent by Single.